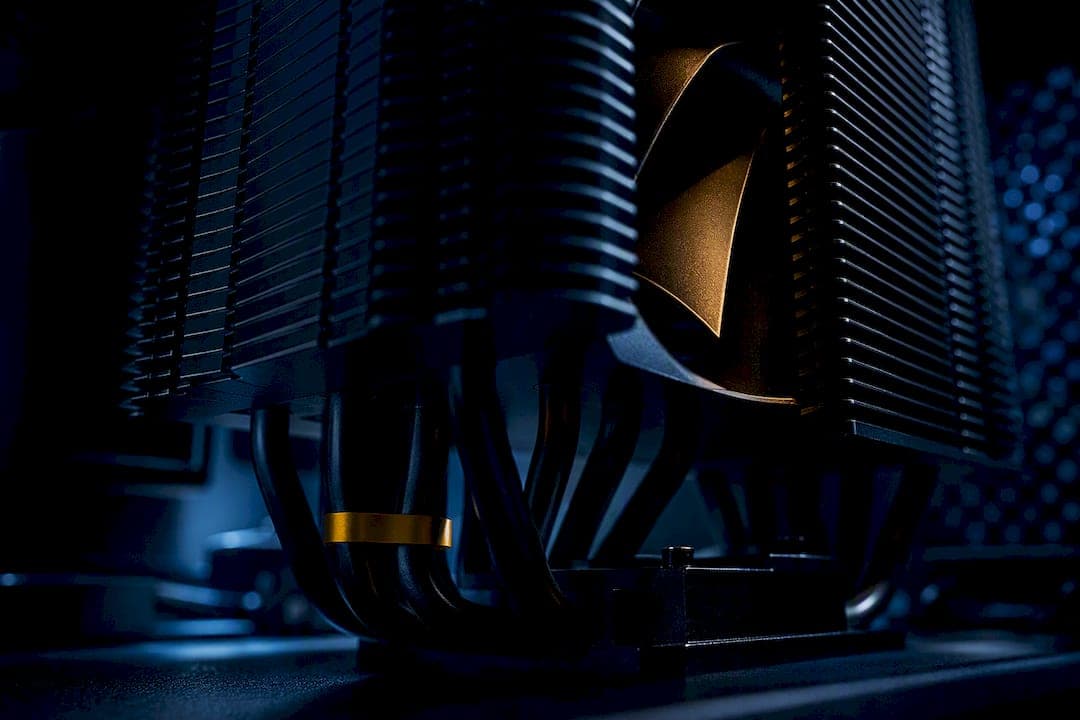
Most thermal throttling on Windows is fixable, and diagnosis always comes before treatment. Fire up HWiNFO64 in Sensors-only mode, watch your core clocks under load, and confirm the drop lines up with rising temperatures rather than a driver glitch or power limit. If it's thermal, clean the vents and switch Windows to Best Performance mode first. Never disable the CPU's built-in thermal protection to chase higher clocks.
TL;DR:
- Cleaning dust from heatsinks, fans, and filters often resolves a significant portion of thermal throttling issues and should be the first step.
- Confirm thermal throttling by observing clock speed drops as temperatures rise toward TJ Max, ruling out power limits or driver faults.
- Undervolting the CPU and GPU can significantly reduce temperatures and improve performance without hardware modifications if done carefully and incrementally.
- Regularly updating drivers, adjusting power modes, and managing fan curves help maintain optimal thermal performance, especially on laptops with firmware limits.
- Use diagnostic tools like HWiNFO64 and Tempered to monitor real-time temperatures, throttling flags, and system behavior to identify precise causes before making invasive fixes.
Table of Contents
- How to confirm thermal throttling on Windows
- Quick fixes you can do now: cleaning, power settings, and fan curves
- Deeper hardware fixes: repaste, reseat, and airflow
- Software-only tuning: undervolt, fan curves, and power limits
- What can laptop owners actually change?
- When should you touch BIOS settings or drivers?
- A short preventive maintenance plan
- What actually moves the needle, and what doesn't
- How Tempered fits into your thermal fix routine
- Sources
How to confirm thermal throttling on Windows
Thermal throttling has a specific signature: clock speed falls while temperature climbs toward the chip's limit, usually somewhere close to TJ Max on Intel silicon. If your clocks dip, but temps are low and stable, you're looking at something else entirely, like a power limit, a driver fault, or background software fighting for resources.
Run a controlled test before you touch anything. Let the system idle for five minutes and note the baseline temperature and clock speed. Then load it with a game or a stress test like Cinebench for 10 to 20 minutes and watch what happens as temperatures rise. Intel's own throttling documentation describes this exact mechanism: the processor pulls back frequency as it nears its thermal trip point to avoid damage.
A few tools make this diagnosis fast and reliable:
- HWiNFO64: switch to Sensors-only mode and watch core temps, clock speed per core, and any "thermal throttling" or "power limit throttling" flags in real time.
- Task Manager: a quick gut check. If CPU usage sits at 100% but performance feels sluggish, temperature is a likely suspect, though it won't confirm it alone.
- MSI Afterburner: essential for tracking GPU temperature, clock behavior, and fan speed alongside a GPU-specific stress test.
- Tempered: run a scan for a plain-language summary of your current thermal and performance constraints without digging through raw sensor logs.
Before assuming heat is the villain, rule out the obvious impostors. A recently updated GPU driver can cap boost clocks on its own. Some laptops throttle even when temperatures look fine, because the OEM has set a strict power limit in firmware. A quick way to separate the two: if clock speed drops without temperatures climbing, you're dealing with a power ceiling, not a thermal one, and the fixes later in this guide (undervolting, power limits) matter more than cooling.
Quick fixes you can do now: cleaning, power settings, and fan curves
Most real-world throttling cases trace back to something embarrassingly simple: dust. A SmoothFPS analysis of common thermal failures found that cleaning alone resolves a meaningful share of throttling complaints, because dust-clogged heatsinks lose airflow efficiency fast. Start here before anything more invasive.
- Shut down and unplug the machine, then open the case or laptop panel if it's designed for easy access.
- Use compressed air in short bursts to clear dust from heatsink fins, fan blades, and intake filters, holding fans steady so they don't spin freely and generate a voltage spike.
- Clean dust filters on desktop cases and check laptop intake vents on the bottom and sides, since blocked vents are a top cause of laptop overheating.
- Switch Windows power mode to Best Performance in Settings under Power and battery, which stops the OS from artificially capping clock speed to save energy.
- Set Maximum Processor State to 100% in the advanced power plan settings if it's been throttled down by a previous power-saving profile.
- Keep laptops plugged in during demanding tasks, since most default to reduced performance on battery regardless of thermal headroom.
- Update GPU and chipset drivers, and roll back immediately if overheating or crashing starts right after an update.
- Try a cooling pad on laptops with bottom-intake fans, though Digital Citizen's testing notes that side-intake or rear-exhaust designs see little to no benefit from them.
- Adjust fan curves in MSI Afterburner or your OEM's control utility, pushing fans to ramp up earlier rather than waiting until the chip is already hot.
Pro Tip: Test one change at a time and rerun your 10 to 20 minute load test after each one. If you clean, adjust power settings, and update drivers all in the same sitting, you'll never know which fix actually mattered.
Full Windows power mode settings are worth understanding in more detail if you're troubleshooting a laptop that throttles even when it's not particularly hot to the touch.
Deeper hardware fixes: repaste, reseat, and airflow
When cleaning and settings don't close the gap, the thermal paste is usually the next suspect. Paste dries out and loses contact efficiency over two to four years, and SmoothFPS reports temperature drops of 10 to 20°C after a fresh repaste on systems where the original paste had hardened. That's often the difference between constant throttling and a chip that never touches its limit.
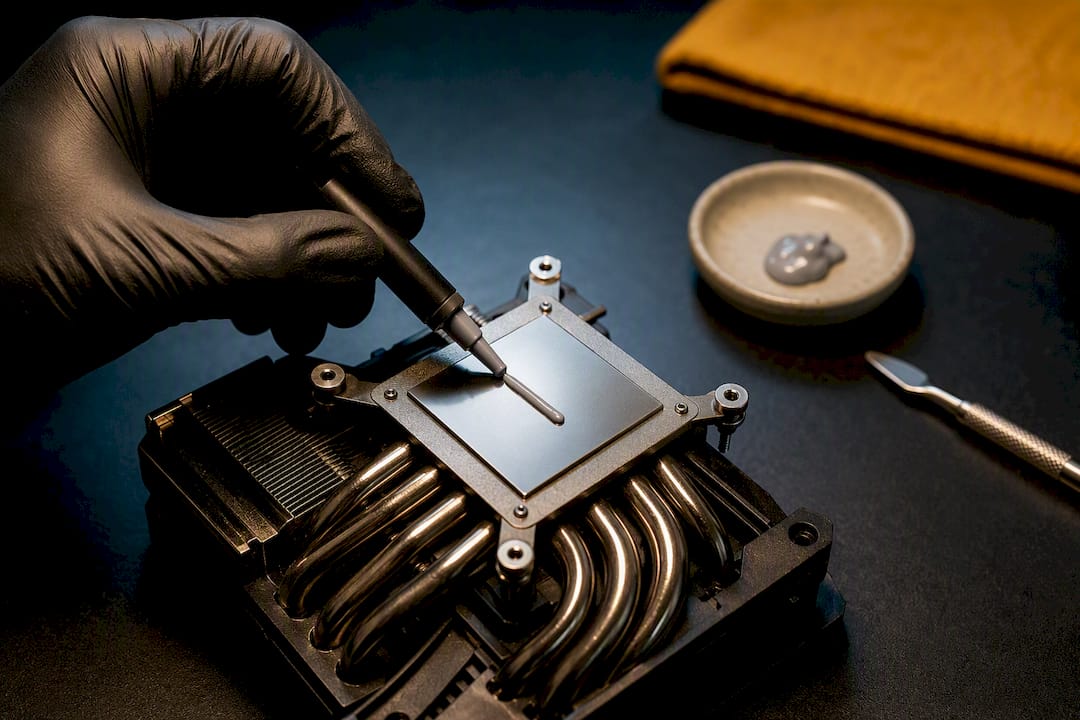
Repasting is worth the effort when your system is more than two years old, temps stay high even after cleaning, or you notice one side of the cooler contact plate looks discolored compared to the other, a sign of uneven mounting pressure. Apply a pea-sized dot of paste, seat the cooler with even pressure in an X pattern across the mounting screws, and let the system sit for 15 minutes before running any temperature test, since a freshly reseated cooler needs time to settle before readings are meaningful.
Airflow matters just as much as the paste itself. A few basics that get overlooked constantly:
- Intake fans belong at the front and bottom of the case, pulling cool air in.
- Exhaust fans go at the rear and top, pushing hot air out where it naturally rises.
- Cable clutter blocks airflow more than people expect. Tucking cables behind the motherboard tray or through routing channels can drop temps a few degrees on its own.
- Dust filters need regular cleaning, not just the heatsink itself, since a clogged filter starves every fan behind it.
If airflow and repasting still leave you short, the cooler itself may be undersized for the chip. A stock cooler struggling to keep a mid-range or higher CPU under control is a common bottleneck, and upgrading to a better air cooler or a 240mm all-in-one liquid cooler is usually the more effective move over stacking case fans.
Software-only tuning: undervolt, fan curves, and power limits
Undervolting is the highest-return fix that doesn't involve opening the case, and it's fully reversible, which makes it worth trying before you consider it optional. The tradeoff: it demands patience, because rushing it risks instability.
- Install ThrottleStop or Intel XTU for CPU undervolting on Intel systems.
- Start with small steps, around -5 to -10mV at a time, rather than jumping straight to an aggressive offset.
- Stress-test after every single change using Cinebench or Prime95 for at least 15 to 20 minutes to confirm stability before going further.
- Push toward a safe landing zone, often somewhere between -80mV and -125mV depending on the specific chip, though your silicon may tolerate more or less.
- Undervolt the GPU separately using MSI Afterburner's voltage/frequency curve editor, dragging the curve down at each voltage point and testing with a benchmark loop like 3DMark or an in-game stress run.
- Tune power limits and fan curves together, since a slightly lower power limit combined with an earlier-ramping fan curve often holds clocks steadier than either change alone.
Pro Tip: If a system crashes, freezes, or blue-screens after an undervolt, revert the last change immediately rather than continuing to push further. Stability always beats a few extra megahertz.
Every change here needs an undo path. Note your default voltage offset and power limit before touching anything, and never disable the processor's thermal protection to squeeze out more performance. That protection exists to stop permanent damage, not to slow you down for no reason.
What can laptop owners actually change?
Laptops fight a different battle than desktops. Manufacturers routinely lock power and thermal limits into firmware, which is why two laptops with the identical CPU can perform very differently under the same thermal conditions. Checking your OEM's control utility (Gaming hubs from Lenovo, ASUS, or Dell all include one) often reveals a performance mode that's been quietly capping your chip.
Realistic options for laptop owners, roughly in order of effort:
- Clean the intake vents and fans first, since laptop cooling systems clog faster than desktops due to tighter clearances.
- Repaste if your model allows panel access without voiding warranty coverage, checking your specific model's teardown guides first.
- Undervolt through the CPU and GPU tools covered above, which tends to help laptops even more than desktops given their tighter thermal headroom.
- Cap your in-game frame rate so the GPU isn't working at full tilt for marginal visual gains.
- Use a cooling pad only if your laptop has bottom-facing intake fans, since side or rear intake designs won't see much benefit.
If your laptop still throttles hard after all of that, and it's under three years old with a mid-range or better spec sheet, that usually points to an underspecced cooling system from the factory rather than something you caused. At that point, a professional repair diagnostic can confirm whether the thermal solution is faulty, or it may be time to consider trading in for something with better cooling headroom rather than fighting the chassis indefinitely.
When should you touch BIOS settings or drivers?
Before changing anything in BIOS or UEFI, write down your current settings. You'll want that reference if a change makes things worse.
Settings worth inspecting include CPU power management features, any manufacturer-specific performance or "turbo boost" toggles, and fan curve controls if your board exposes them. A BIOS update is worth trying when the manufacturer's changelog specifically mentions thermal or power management fixes, not as a routine "just in case" measure.
- Document current BIOS values before making changes so you can restore them exactly.
- Only update BIOS for a documented thermal or stability fix, never as a blanket troubleshooting step.
- Roll back a GPU or chipset driver immediately if overheating or throttling starts right after installing a new one.
- Avoid disabling any thermal protection features in BIOS, even temporarily for testing.
A short preventive maintenance plan
Throttling has a way of creeping back once you stop paying attention to it. A light routine keeps it from becoming a recurring problem:
- Clean dust filters and fans every three months, more often if you have pets or live somewhere dusty.
- Check paste condition annually on systems older than two years, especially if idle temps have crept upward.
- Log max temperature, throttle flags, and ambient room temperature each time you test, so you have a real before-and-after comparison instead of a guess.
- Run HWiNFO64 checks periodically, and use a Tempered scan every few weeks to catch drift before it becomes a bottleneck.
Systems that see this kind of quarterly attention rarely develop the kind of dust buildup that causes the 10 to 20°C swings that make repasting so effective in the first place, because the problem never gets that bad to begin with.
What actually moves the needle, and what doesn't
Cleaning fixes more throttling cases than people expect, repasting fixes the stubborn ones, and undervolting is the software lever most users skip when it's often the best return on effort available. The order matters: cheap fixes first, invasive ones only when the data says you need them.
What I'd tell anyone chasing thermal problems is to stop guessing and start logging. A single before-and-after temperature reading tells you more than an hour of forum advice. Tools like Tempered exist precisely because most users don't want to manually cross-reference sensor logs against BIOS settings every time something feels off. That's a reasonable trade, as long as the tool shows its work and lets you undo what it changes.
— Ian
How Tempered fits into your thermal fix routine
Once you've cleaned the dust, checked your power settings, and maybe repasted the cooler, the harder question is what to change next, and whether it's safe. Tempered scans your live hardware metrics, CPU, GPU, RAM, disk, and uptime, and translates what it finds into plain-language recommendations instead of a wall of raw sensor data.
Every suggested change comes with a clear explanation of what it does and why, plus a one-click undo if a tweak doesn't sit right with your setup. That matters most for the fixes covered here that carry real risk if done carelessly, like power limit and fan curve adjustments. You don't need to be fluent in BIOS settings or undervolting math to use it; Tempered handles the diagnostic legwork and leaves the final call to you. If you've worked through the manual steps above and want a second opinion on what's actually constraining your system, start a scan with Tempered and see what it flags.
Sources
- What Is Throttling and How Can It Be Resolved? — Intel Support
- Thermal Throttling on PC: How to Detect and Fix It | SmoothFPS
- What is thermal throttling and how to tell if your PC is doing it — Digital Citizen