
Keep Windows' system-managed page file unless you have a specific reason to change it. If you're seeing "low on virtual memory" warnings or app crashes under heavy load, you can increase virtual memory in Windows by setting a custom paging file size through the Performance Options dialog. Before touching anything, though, check your actual memory usage first.
Three quick actions before you change anything:
- Open Task Manager (Ctrl + Shift + Esc), click the Performance tab, and look at your Memory and Committed values.
- Check that your system drive has at least 10–15% free space. Use disk cleanup if it's tight.
- If you see no memory warnings and commit usage is under 80%, leave the page file alone.
One safety warning: Setting the Initial size too low or the Maximum too high on a nearly full drive can cause blue screens, prevent crash dumps from writing, and leave your system unable to recover cleanly. Manual adjustments do not inherently improve performance and can cause instability if misconfigured.
Table of Contents
- How do you increase virtual memory in Windows 11 and Windows 10?
- How much virtual memory should you set?
- When should you go beyond the recommended maximum?
- What can go wrong after changing virtual memory settings?
- Should you check memory usage before changing anything?
- How do you revert to the system-managed page file?
- Key Takeaways
- The monitoring-first case is stronger than most guides admit
- Tempered gives you a faster path to the real fix
- Useful sources and further reading
How do you increase virtual memory in Windows 11 and Windows 10?
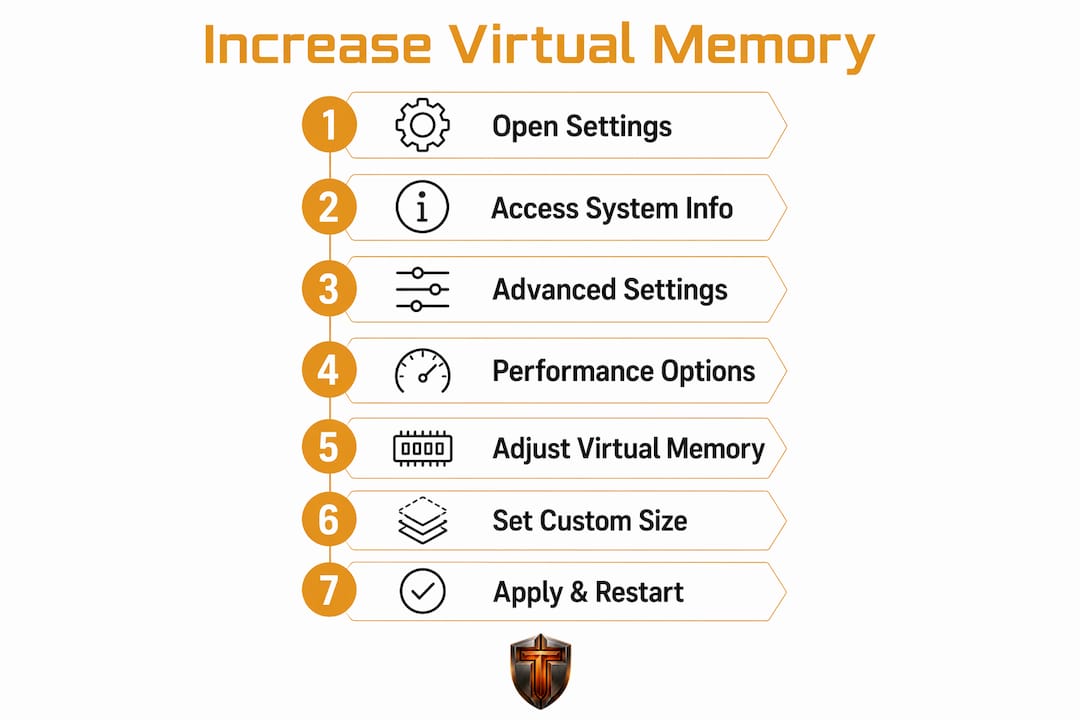
The navigation path is nearly identical on both versions. The fastest way in is to press Win + R, type sysdm.cpl, and press Enter. That opens System Properties directly.

Windows 11 path: Settings → System → About → Advanced system settings → Performance → Settings → Advanced tab → Virtual memory → Change
Windows 10 path: Control Panel → System → Advanced system settings → Performance → Settings → Advanced → Virtual memory → Change
Steps to set a custom page file size:
- Open the Virtual Memory dialog using either path above.
- Uncheck "Automatically manage paging file size for all drives."
- Select the drive where you want the page file (prefer your fastest SSD).
- Choose Custom size.
- Enter your Initial size and Maximum size in MB (see the sizing section below for exact values).
- Click Set, then click OK on all open windows.
- Restart your PC. Changes do not apply until after a full reboot.
Windows shows a Recommended value at the bottom of the dialog. That figure accounts for your crash-dump settings and current commit needs. If you're unsure what to enter, using that number for both Initial and Maximum is a safe starting point.
Pro Tip: Place the page file on your fastest available SSD, not on a secondary HDD. The speed difference is significant under memory pressure. If you only have one drive, that's fine — just make sure it has adequate free space before you resize.
How much virtual memory should you set?
Microsoft's guidance is the authoritative baseline here. System-managed page files can expand up to three times your physical RAM or 4 GB, whichever is larger, and are further capped by volume size divided by 8. That cap exists partly to ensure enough space for crash dumps.
For complete memory dumps, Windows needs a page file roughly equal to your RAM plus approximately 257 MB. If you disable or shrink the page file below that, crash analysis becomes impossible.
Common sizing formulas used in practice:
- Initial size: 1.5× your installed RAM (in MB)
- Maximum size: 3× your installed RAM (in MB)
These are troubleshooting heuristics, not magic numbers. They come from practical guides and are appropriate when you're actively hitting memory errors. For most workloads, Windows' own Recommended value is the better choice.
Worked examples:
| RAM | Initial Size (MB) | Maximum Size (MB) | Notes |
|---|---|---|---|
| 8 GB | 12288 | 24576 | Standard formula; good for gaming or light editing |
| 16 GB | 24576 | 49152 | Covers most multitasking and VM workloads |
| 32 GB | 49152 | 98304 | Rarely needed; monitor before committing to this size |
If you have a large amount of RAM and aren't seeing memory errors, the system-managed setting almost certainly handles your workload already. Setting a very large maximum page file on a typical SSD is often unnecessary and may cause excessive wear without real benefit.
Pro Tip: Matching Initial and Maximum size to the same value (e.g., both set to 1.5× RAM) prevents the file from fragmenting as it grows. This matters more on HDDs than SSDs, but it's a clean habit either way.
When should you go beyond the recommended maximum?
Most users never need to. The cases that justify it are narrow: specialized applications with extremely large datasets, or systems that need to capture complete memory dumps on machines with large RAM.
ESRI's knowledge base, for example, documents this for GIS workloads where commit charge routinely exceeds what a standard page file can back. Similarly, when Excel handles very large datasets, commit limits can spike in ways that catch a conservatively sized page file off guard.
If you must raise the Maximum above the recommended value:
- Confirm the hosting volume has at least 15% free space after the new maximum is applied.
- Set the new Maximum, click Set, and restart.
- Monitor the system during the first two or three reboots under the target workload.
- Watch Task Manager's Committed value and Disk activity for signs of excessive paging.
Safer alternatives to a larger page file:
- Add physical RAM. It's the only fix that actually increases your commit limit without disk overhead.
- Move heavy workloads (VMs, large renders) to a machine with more RAM.
- Use a dedicated dump file for crash analysis instead of relying on a large page file.
Avoid placing a very large page file on a volume that's already near capacity. When commit charge approaches the commit limit and the hosting volume lacks free space, Windows cannot grow the file and system instability follows quickly.
What can go wrong after changing virtual memory settings?
Common risks:
- Blue screens on the next boot if the Initial size is set below what Windows needs at startup.
- Application crashes if the Maximum is too small for peak commit demand.
- Crash dumps failing to write if the page file is smaller than RAM plus overhead.
- Excessive SSD writes if the Maximum is set far higher than needed, accelerating drive wear.
- Windows silently reverting your settings if permissions are wrong or the volume runs out of space.
A very large pagefile.sys is often the result of a manual maximum left too high or a runaway workload, not normal behavior. Don't delete the file to fix it — Windows recreates it, and the deletion itself can cause a crash.
Fixes for the most common problems:
- Settings reverting: Run
sfc /scannowin an elevated Command Prompt. Check that the system drive has enough free space. Verify you clicked Set before clicking OK (a common miss). - Page file not reaching its maximum: The volume may be too full to grow. Free space with temp file cleanup and try again.
- Blue screen after changes: Boot into Safe Mode (hold Shift while clicking Restart → Troubleshoot → Advanced options → Startup Settings → Restart → press 4). Once in Safe Mode, re-enable "Automatically manage paging file size for all drives," click Set, and restart normally.
- Apps still crashing despite a larger page file: This usually points to a driver conflict or memory leak, not capacity. Check Event Viewer for specific error codes and update graphics and chipset drivers.
Should you check memory usage before changing anything?
Yes, always. Changing the page file without knowing your actual commit usage is guesswork, and it often makes things worse rather than better.
How to check memory pressure with built-in tools:
- Open Task Manager (Ctrl + Shift + Esc) → Performance tab → Memory. Look at the Committed value (e.g., 9.2/18.4 GB). The second number is your commit limit.
- Open Resource Monitor (search for it in Start) → Memory tab. Watch Commit (KB) and Hard Faults/sec under load.
- For deeper analysis, open Performance Monitor and add counters: Memory% Committed Bytes In Use and Paging File(*)% Usage. Sustained readings above 85–90% under your target workload are the clearest signal that the commit limit is genuinely tight.
When a page-file change is actually warranted:
- Persistent "Your system is low on virtual memory" warnings during normal use.
- % Committed Bytes In Use consistently above 85–90% under the workload that triggers problems.
- Frequent application crashes that Event Viewer ties to memory exhaustion, not driver faults.
When it's probably not the page file:
- A single app crashes but others run fine (driver or software bug).
- System is slow but commit usage is low (CPU bottleneck, storage issue, or background bloat).
Pro Tip: Run your monitoring during the exact workload that triggers the problem — gaming session, large VM spin-up, video export. Idle readings tell you almost nothing useful.
For a faster read on what's actually consuming your RAM, checking RAM usage with a dedicated guide gives you the full picture before you touch any system settings. Reducing background bloat often removes the need to touch the page file entirely.
How do you revert to the system-managed page file?
- Open the Virtual Memory dialog (Win + R →
sysdm.cpl→ Advanced → Performance Settings → Advanced → Virtual memory → Change). - Check "Automatically manage paging file size for all drives" at the top.
- Click OK on all open windows.
- Restart your PC.
After the reboot, open Task Manager → Performance → Memory and confirm the Committed value looks normal. Windows will resize the page file at startup based on your current RAM and crash-dump settings.
One exception: if you need a dedicated dump file for crash analysis on a system with large RAM, you can keep a small custom page file (set to the Windows Recommended value) on the system drive while pointing crash dumps to a separate dedicated dump file. That keeps the page file lean without sacrificing crash-dump capability.
Key Takeaways
Leaving the page file system-managed is the right default for most Windows users; manual changes are a troubleshooting tool, not a performance upgrade.
| Point | Details |
|---|---|
| Monitor before changing | Check % Committed Bytes In Use in Task Manager or Resource Monitor before resizing the page file. |
| Safe sizing formula | Use 1.5× RAM for Initial size and 3× RAM for Maximum size (in MB) when manual sizing is needed. |
| Restart is required | Changes to the paging file do not apply until after a full system restart. |
| Rollback is simple | Re-check "Automatically manage paging file size for all drives" and restart to undo any custom settings. |
| Tempered for diagnostics | Tempered's AI scan identifies RAM hogs and background process leaks before you resort to page-file edits. |
The monitoring-first case is stronger than most guides admit
The conventional advice on this topic is to hand readers a formula (1.5× initial, 3× maximum) and call it done. That's fine as far as it goes, but it skips the more important question: does your system actually need a larger page file, or does it need fewer background processes eating RAM?
In most cases I've seen analyzed, the answer is the latter. A system hitting memory pressure at 16 GB of RAM usually has a handful of processes that shouldn't be running at all, not a page file that's too small. Increasing the page file in that situation just gives those processes more room to misbehave. The commit limit goes up, the paging activity increases, and the SSD takes more writes for no real improvement in stability.
Manual page-file changes are genuinely useful in two situations: you need crash-dump support on a machine with large RAM, or you're running a specialized workload (GIS, large VMs, video pipelines) where commit charge legitimately exceeds what system-managed settings provide. Outside those cases, the monitoring-first path almost always surfaces a better fix.
Tempered gives you a faster path to the real fix
If you've read this far and you're not sure whether your system actually needs a page-file change, that uncertainty is exactly what Tempered is built to resolve. Rather than guessing at sizing formulas, Tempered's AI diagnostic scans your live CPU, RAM, GPU, and disk metrics in real time and tells you what's actually causing the pressure.
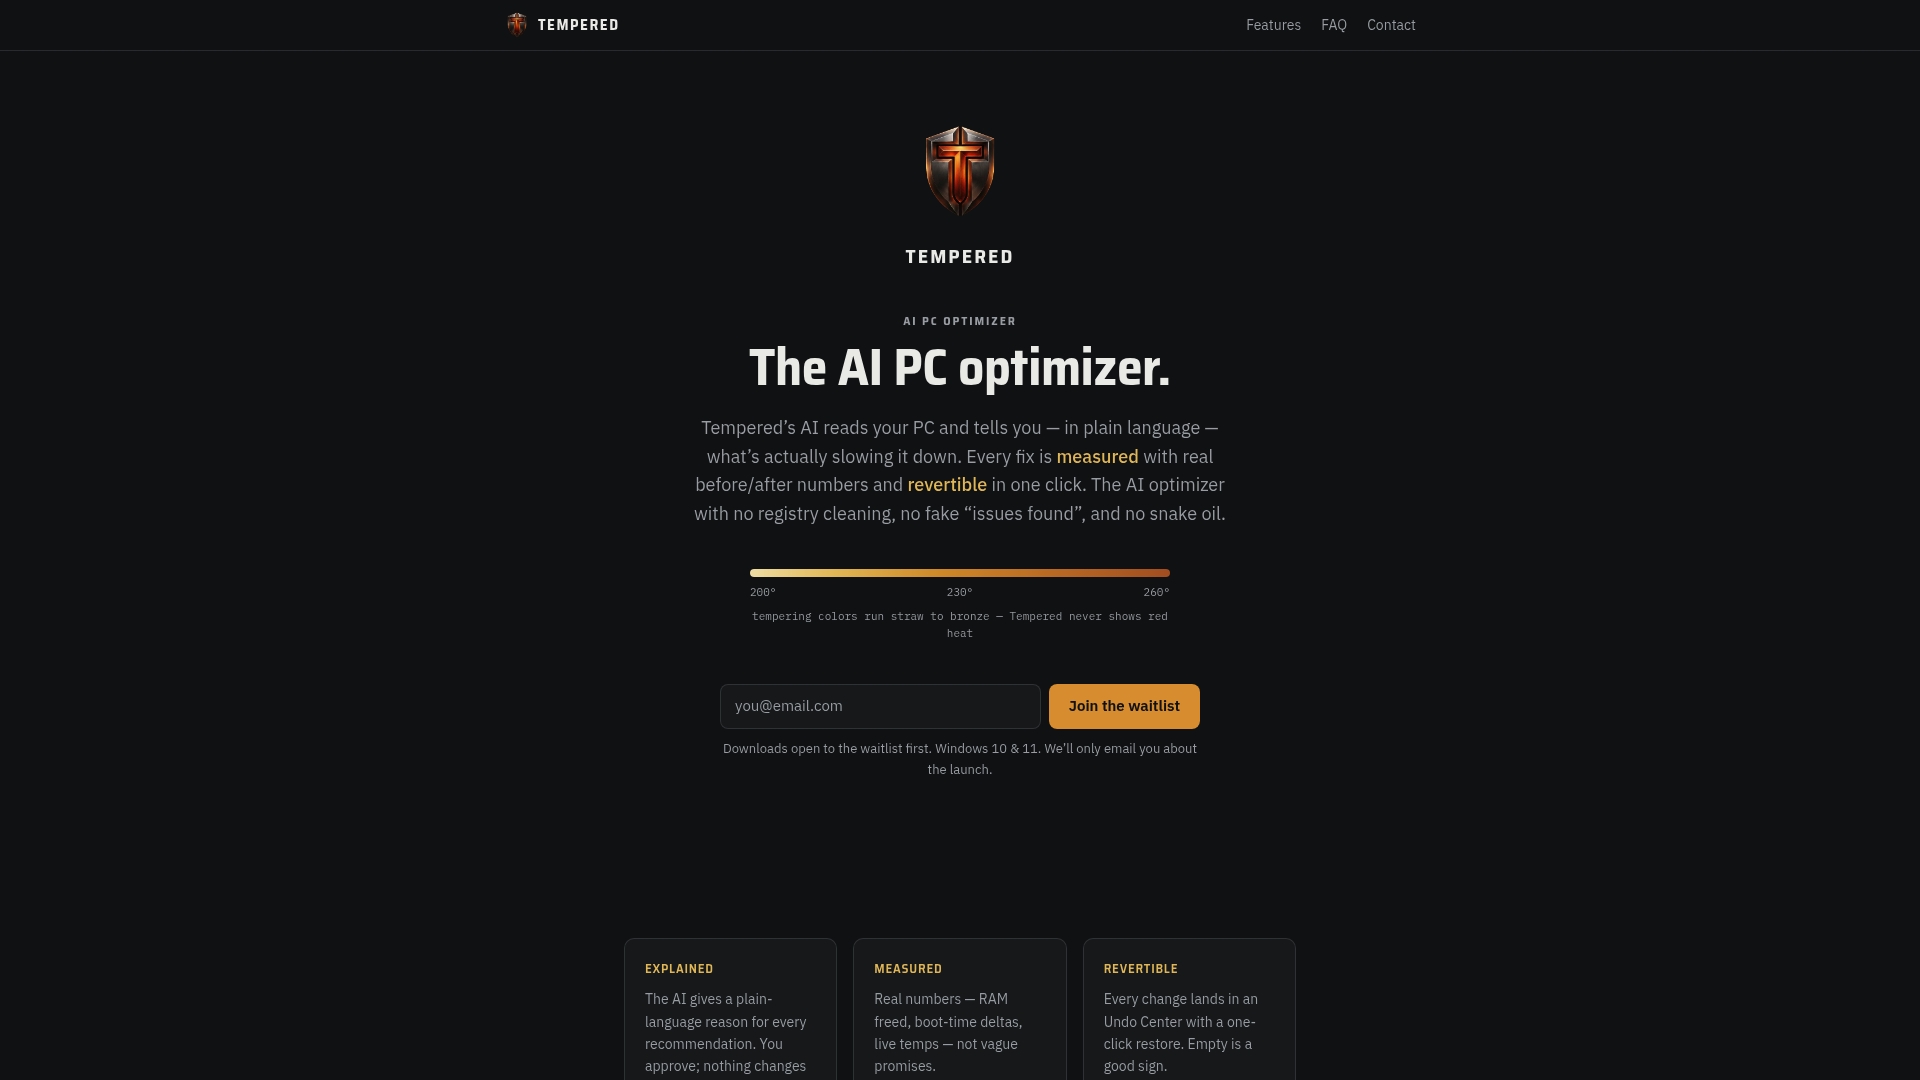
It flags background processes consuming memory they shouldn't, identifies startup items adding to your commit load, and recommends specific fixes — all reversible through its built-in Undo Center. No technical expertise needed, no manual registry edits, no blue-screen risk from a misconfigured page file. For gamers and everyday PC users who want stability without the tinkering, it's a cleaner route than adjusting virtual memory by hand. Check out Tempered's AI PC optimizer and run a free scan to see what your system is actually doing before you change anything.
Useful sources and further reading
- How to determine the appropriate page file size for 64-bit versions of Windows — Microsoft Learn's authoritative guide on system-managed sizing, crash-dump requirements, and volume-size caps.
- Introduction to the page file — Microsoft's overview of when and why Windows uses the paging file, with guidance on when to leave it alone.
- How do I increase virtual RAM in Windows 10 — Microsoft Q&A thread with practical navigation steps and community warnings against unnecessary changes.
- Why is my pagefile.sys so huge? — PDQ.com's explanation of oversized page files, manual setting pitfalls, and the restart requirement.
- Increase Virtual Memory beyond the Recommended Maximum — ESRI's knowledge base article for specialized workloads that legitimately require larger page files.
- Tempered AI PC Optimizer — diagnostic-first tool for identifying memory pressure causes before resorting to manual page-file edits.