Leave HPET alone on most Windows 11 PCs. Windows 11 already picks the fastest available timing source on its own, and forcing a change usually trades stability for a gain you won't feel. Test or force HPET only when you have a specific hardware or timing problem to chase, and only if you back up your boot configuration, measure a baseline first, and change one thing at a time.
TL;DR:
- Windows 11 automatically selects the fastest timer source, so forcing HPET usually offers negligible performance gains and may reduce stability.
- To disable HPET, delete the useplatformclock value with BCDEdit after backing up your boot configuration; to force it, set useplatformclock true and ensure BIOS HPET is enabled.
- Most modern motherboards ship with HPET disabled by default, and manual changes typically result in less than 2% performance difference on current hardware.
- Use measurement tools like LatencyMon or timer-resolution utility to confirm actual timer behavior changes rather than relying on assumptions or typical benchmarks.
- For most users, diagnosing performance issues better involves updating drivers, optimizing power and graphics settings, or using diagnostic tools rather than manually tweaking HPET.
Table of Contents
- What Is HPET, and How Does Windows 11 Choose a Timer?
- How to Disable HPET in Windows 11
- How to Force HPET on Windows 11 (If You Really Need To)
- How Do You Verify a Timer Change Actually Worked?
- When Should You Actually Change HPET Settings?
- How Do You Undo an HPET Change That Went Wrong?
- Tempered's Test-and-Measure Workflow for Timer Changes
- Leave HPET Alone Unless You Have a Reason
- Let Tempered Handle the Measuring Part
- Official Documentation and Measurement Tools
- Sources
- FAQ
What Is HPET, and How Does Windows 11 Choose a Timer?
HPET stands for High Precision Event Timer, a hardware clock built into most PCs since the mid 2000s. It exists because older PC timers weren't accurate enough for modern audio, video, and scheduling work.
Windows 11 doesn't rely on HPET by default. It selects the processor's invariant Time Stamp Counter (TSC) through QueryPerformanceCounter, because TSC sits closer to the CPU and responds faster than HPET ever could. Windows only falls back to HPET when TSC is missing, unstable, or unsuitable, which on current hardware is rare.

This is also why "hpet enable disable windows 11" trips up so many searchers. The setting people are hunting for isn't a simple on/off toggle in Windows Settings. It lives in the Boot Configuration Data (BCD) store, and you edit it with BCDEdit, a command line tool that also controls things like Secure Boot handoffs and boot menu timeout. That's a different risk profile than flipping a checkbox, and it's why the instructions below start with a backup step every time.
How to Disable HPET in Windows 11
If a forced HPET setting is already in place, either from an old troubleshooting guide or BIOS default, removing it is straightforward as long as you follow the order below.
- Open Command Prompt as Administrator. Right, click the Start button and choose "Terminal (Admin)" or search "cmd" and run as administrator.
- Back up your boot configuration first:
bcdedit /export C:\BCD_Backup. Skip this and you have no safety net if something goes wrong. - Run
bcdedit /deletevalue useplatformclockto remove the forced setting, then restart. - Confirm the change by running
bcdedit /enumagain. If "useplatformclock" no longer appears in the output, Windows 11 has gone back to picking its own timer source.
A few things worth knowing before you touch anything:
- If BitLocker is active, some BCDEdit changes require suspending it first.
- Device Manager can confirm hardware support: expand System devices and look for "High Precision Event Timer." Its presence just means the chip exists, not that Windows is using it.
- Check your BIOS or UEFI setup (often under Advanced or Chipset menus) to see whether HPET is enabled at the firmware level. Mismatched BIOS and Windows settings are a common source of the slowdowns people report in troubleshooting threads.
Pro Tip: Run msinfo32 before and after the change and save both reports. Comparing them later is the only way to know if anything besides the timer setting shifted.
How to Force HPET on Windows 11 (If You Really Need To)
Forcing HPET on is a debugging move, not a performance upgrade. It matters mainly for legacy peripherals that expect an older timing model, or for isolating whether a stutter or audio glitch is timer related.
- Open an elevated Command Prompt the same way as above.
- Export a fresh BCD backup:
bcdedit /export C:\BCD_Backup2. - Run
bcdedit /set useplatformclock trueand restart. - Verify with
bcdedit /enum. You should now see "useplatformclock" listed as "Yes" or "True" depending on your Windows build. - In BIOS/UEFI, confirm HPET is also enabled there. Windows and firmware disagreeing on this setting is a frequent cause of instability.
A 2026 hardware knowledge base summary notes that most current motherboards ship with HPET disabled by default. Forcing it typically changes performance by a small amount on modern systems. That's not a number worth chasing unless you're diagnosing a specific problem.
After rebooting, test immediately:
- Play audio and check for crackling or dropouts.
- Plug and unplug a USB device to confirm normal detection.
- Watch general desktop responsiveness for the first ten minutes of use.
If anything feels worse, reverse the change right away using the undo steps in a later section.
How Do You Verify a Timer Change Actually Worked?
Run bcdedit /enum first. Look for the "useplatformclock" line: present and "true" means HPET is forced, absent means Windows is choosing its own source again.
Device Manager backs this up visually. Under System devices, "High Precision Event Timer" tells you the hardware is available, though it won't tell you which timer Windows is actively using for scheduling. For a deeper look, msinfo32 lists system summary data that can reveal timer related entries and driver conflicts worth cross checking against your backup report.
For an actual measurement, skip guesswork and use a real tool:
- The open-source timer-resolution utility on GitHub reports your current and finest available timer resolution, and includes a Sleep(1) benchmark that shows real sleep precision on your specific hardware.
- Gamers should log frame times over a short play session rather than trusting an average FPS number, since HPET changes tend to show up as variance, not raw speed.
- Anyone chasing audio glitches should run LatencyMon for a few minutes during normal use to catch DPC latency spikes.
Pro Tip: A one or two percent shift in your Sleep(1) results is noise. Treat anything under that threshold as no change at all, not a win.
When Should You Actually Change HPET Settings?
Most of the time, the honest answer is never. Windows 11's dynamic tick and TSC handling have matured enough that manual HPET edits solve fewer real problems than they used to.
Realistic outcomes from forcing or disabling HPET on a modern PC:
- No measurable difference in frame rate on current CPUs and GPUs.
- Occasionally higher input or audio latency if the change fights your hardware's native timer behavior.
- Rare but real device issues, from USB dropouts to boot delays, when BIOS and Windows disagree on the setting.
Before touching BCDEdit at all, try the supported options first. Turn on Optimizations for windowed games under Settings, System, Display, Graphics. Update your GPU driver. Review your power plan, since a balanced or power-saver profile can throttle performance in ways that look like a timer problem but aren't. Community reports on Microsoft Q&A back this up: disabling HPET occasionally helps on older systems, but it's rarely worth the risk on anything built in the last few years. A gaming-specific optimization guide covers these safer levers in more depth if that's your goal.
How Do You Undo an HPET Change That Went Wrong?
If forcing or removing HPET caused a problem, reverse it the same way you applied it.
- Open an elevated Command Prompt and run
bcdedit /deletevalue useplatformclock, then restart. - If that doesn't resolve it, restore your exported backup with
bcdedit /import C:\BCD_Backup(using the file path you saved earlier). - Still stuck? Boot into Safe Mode and try the same commands there, since some conflicts only clear once background drivers aren't loading normally.
- As a last resort, run a repair upgrade using the Media Creation Tool, which resets Windows components without touching personal files.
A few precautions apply throughout:
- If BitLocker or Secure Boot is active, confirm neither is blocking the restore before you assume BCDEdit failed.
- Skip registry hacks or third-party "BCD fixer" tools. On a modern Windows 11 install, they solve nothing that
bcdedit /importand a repair upgrade can't handle more safely.
Tempered's Test-and-Measure Workflow for Timer Changes
Before touching HPET, export your BCD, then capture a baseline: a short LatencyMon session or a few minutes of frame-time logging while you use the PC normally.
Apply exactly one change. Wait, use the system for a real session, then capture the same measurement again and compare the two logs side by side.
- Look for reduced variance in frame-time logs, not just a higher average FPS. Spikes shrinking matters more than the mean shifting slightly.
- If LatencyMon shows the same DPC latency pattern before and after, the change didn't touch your actual bottleneck.
- If nothing improved, revert immediately using the undo steps above. A "maybe it helped" result isn't worth keeping.
Pro Tip: Document every change you make, even small ones. A dated note that says what you changed and what you measured is worth more than memory six months later.
Reversible, measured changes beat forum copy-paste fixes every time, mainly because a forum thread can't see your hardware or your baseline.
Leave HPET Alone Unless You Have a Reason
Most people asking about HPET are chasing a performance fix that doesn't exist at the timer level. If your PC feels slow, it's far more likely a background process, an outdated driver, or a thermal issue than a mismatched clock source.
Competitive gamers and troubleshooters with a genuine timing symptom can test carefully, using the backup and measurement steps above. Everyone else should skip it entirely. If you want to dig deeper into what's actually causing slowdowns, the Tempered blog covers diagnostics that go beyond timer settings.
— Ian
Let Tempered Handle the Measuring Part
Tempered is the alternative to manual BCDEdit tinkering: instead of guessing whether a timer edit helped, it reads your CPU, RAM, GPU, and disk activity directly and tells you in plain language what's actually slowing your PC down, with a one-click undo on every change it suggests.
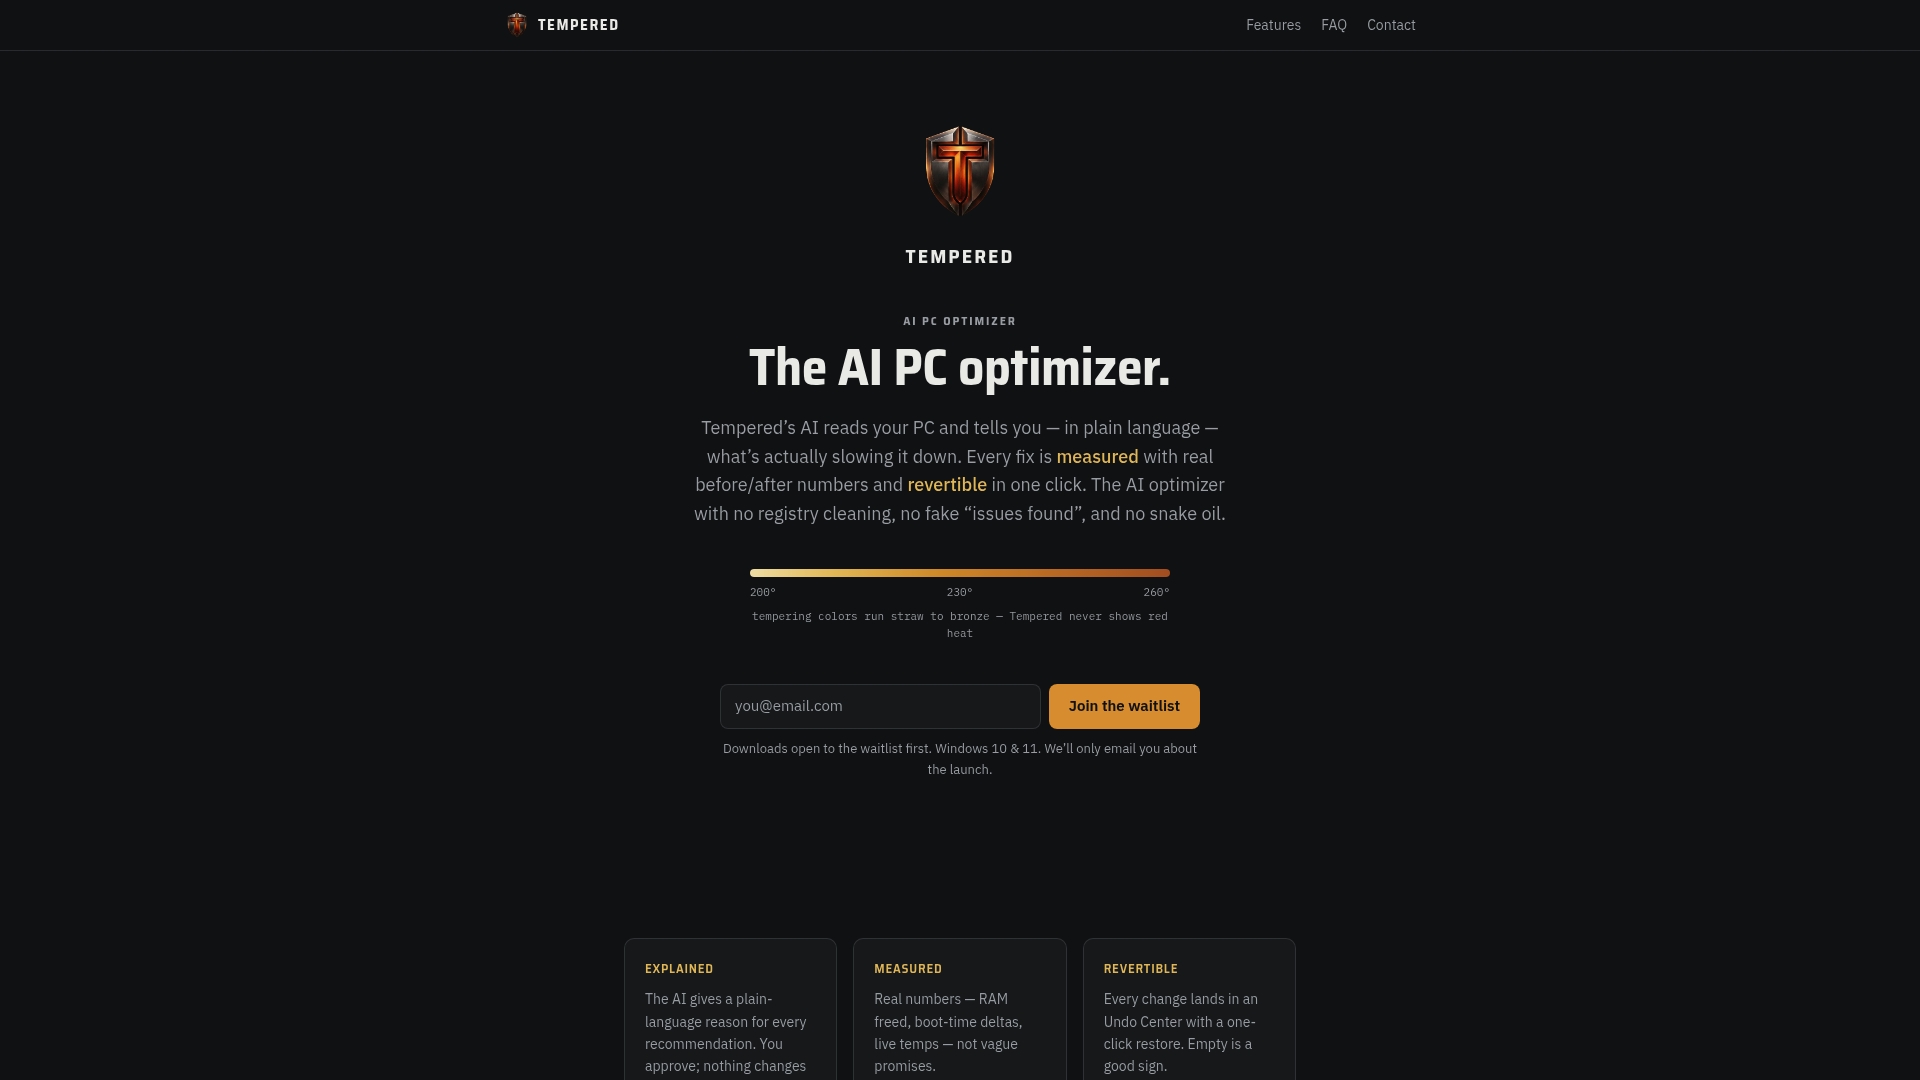
Where this guide asks you to export a BCD backup and compare frame-time logs by hand, Tempered runs that measurement loop automatically and flags the real constraints, whether that's a startup app hogging RAM or a background process eating CPU cycles you'd never trace back to HPET. No registry edits, no boot configuration risk, and nothing changes without your approval first.
The Free plan gets you a limited AI scan to see what it finds on your own machine. If you want unlimited scans and the full set of performance tweaks, Torque and Torque Max subscription plans are available; current pricing details are on the pricing page. Run a scan and see what's actually worth fixing before you touch a single boot setting.

Official Documentation and Measurement Tools
For the technical detail behind this guide, Microsoft's high-resolution timestamp documentation explains how QueryPerformanceCounter and TSC work, and the BCDEdit reference covers every command used above.
For measurement, LatencyMon catches audio-related DPC latency, and the timer-resolution utility benchmarks actual Sleep(1) precision on your hardware. For broader context on why Windows 11 needs fewer manual timer fixes than earlier versions, see the comparison on Windows 10 vs Windows 11 gaming performance, and this performance optimization overview for additional general tuning ideas.
Sources
- Acquiring high-resolution time stamps - Windows applications | Microsoft Docs
- Optimizations for windowed games in Windows 11 - Microsoft Support
FAQ
Should I Enable High Precision Event Timer on Windows 11?
For almost everyone, no. Windows 11 already selects the fastest available timing source automatically, and forcing HPET on typically changes performance by less than 2% on modern hardware, according to a 2026 hardware knowledge base. Only test it if you're isolating a specific hardware or timing bug.
How Do I Turn HPET Off in Windows 11?
Open Command Prompt as Administrator, back up your boot configuration with bcdedit /export, then run bcdedit /deletevalue useplatformclock and restart. Confirm it worked by running bcdedit /enum again and checking that "useplatformclock" no longer appears.
Should You Disable Dynamic Tick?
Dynamic tick is a separate power-saving feature from HPET, and disabling it usually hurts battery life more than it helps performance. Leave it enabled unless a specific driver compatibility issue tells you otherwise, since Windows 11's scheduler improvements already handle most timing needs without manual adjustment.
What Services Should I Disable in Windows 11 for Better Performance?
Rather than disabling random services by guesswork, identify what's actually consuming CPU and RAM first. A tool like Tempered scans live hardware metrics and points to the specific background processes worth closing, with an undo option if a change doesn't help.
Can Changing HPET Settings Break My PC?
It can cause slowdowns, audio glitches, or USB detection issues if BIOS and Windows disagree on the setting, based on patterns seen in Microsoft Q&A troubleshooting threads. Exporting your BCD store before making any change means you can always restore the previous configuration in minutes.