
The fastest way to stop notifications on Windows is to go to Settings > System > Notifications and flip the master toggle off. If you only need silence for an hour, press Win+N to open the Notification Center and turn on Do Not Disturb instead. That's it. Two paths, thirty seconds.
Quick options at a glance:
- Global off: Settings > System > Notifications > toggle "Notifications" to Off
- Temporary silence: Win+N > click the moon icon to enable Do Not Disturb
- Single app: Click the three-dot menu on any notification banner > "Turn off all notifications for this app"
Key Takeaways
Configuring Do Not Disturb with a short priority list is more effective than disabling all notifications permanently, because it preserves critical alerts while eliminating the interruptions that actually cost you focus.
| Point | Details |
|---|---|
| Global toggle | Go to Settings > System > Notifications and flip the master switch to cut all banners and sounds at once. |
| Do Not Disturb | Use Win+N to enable Do Not Disturb instantly; schedule it automatically for focus hours, gaming, or presentations. |
| Per-app silencing | Use the three-dot menu on any banner to silence a specific app in two clicks, no Settings navigation needed. |
| Admin caution | Registry edits (ToastEnabled=0) and Group Policy work, but always back up first and prefer Settings for personal machines. |
| Tempered | Run a free Tempered scan to identify background processes generating unnecessary alerts and apply safe, reversible fixes. |
Table of Contents
- How to disable notifications on Windows completely (global toggle)
- How to silence notifications for specific apps
- Stop banners, sounds, and lock-screen previews
- How to use Do Not Disturb and Focus to silence notifications on a schedule
- Manage notifications quickly from the Notification Center
- Advanced options for admins: Group Policy, Registry, and PowerShell
- Troubleshooting when notification settings won't cooperate
- Why configuring Do Not Disturb beats turning everything off
- The case for tuning over nuking
- Tempered helps reduce background interruptions, not just silence them
- Sources
How to disable notifications on Windows completely (global toggle)
The master switch lives at Settings > System > Notifications (press Win+I to open Settings directly). Toggle the top switch labeled "Notifications" to Off. That single action stops banners, sounds, and pop-ups from every app at once. Alerts that arrive while the toggle is off still land in the Notification Center, so you won't lose anything permanently.
On Windows 11, the path is Settings > System > Notifications. On Windows 10, look for Settings > System > Notifications & Actions. The label changes slightly, but the toggle behaves the same way. Microsoft's official support page walks through both versions if you want the exact screenshots.
When should you use global off versus Do Not Disturb? Global off is the right call for a shared kiosk, a presentation PC, or any machine where you want a permanent clean slate. For everyday work, Do Not Disturb is smarter. It silences banners and sounds but keeps alerts queued in the Notification Center so you can review them when you're ready.
How to silence notifications for specific apps
Turning off every notification is often overkill. A better approach: keep your calendar and messaging apps active, and silence the ones that are just noise.
Path: Settings > System > Notifications > scroll to "Notifications from apps and other senders." Each app has its own toggle. Flip it off and that app goes quiet immediately, no restart needed.
For finer control, click the app's name (not just its toggle). That opens a detail page where you can independently control:
- Banners (the pop-up in the corner)
- Notification Center visibility (whether alerts stack up in Win+N)
- Lock-screen content (whether text previews appear when the screen is locked)
- Sounds (the audio ping)
- Priority (High, Normal, or Low, which affects ordering in the Notification Center)
The fastest in-the-moment method skips Settings entirely. When a banner appears, click the three-dot menu in its top-right corner and select "Turn off all notifications for this app." Done in two clicks. You can also do this from inside the Notification Center on any queued alert. Digital Citizen's Windows 11 guide and AddictiveTips both confirm this three-dot shortcut works on banners and on queued Notification Center alerts.
Pro Tip: Before silencing apps at random, open the Notification Center (Win+N) and look at what actually showed up in the last 24 hours. Silence the repeat offenders first: browser notifications, OneDrive sync alerts, and app update prompts are usually the worst culprits. Keep calendar reminders, messaging apps, and security alerts active.
Which apps to silence first:
- Browser-based notifications (Chrome, Edge, Firefox)
- Cloud storage sync alerts (OneDrive, Dropbox)
- App store and update prompts
- News and weather widgets
- Non-urgent productivity apps
If OneDrive alerts are a specific problem, disabling OneDrive on Windows 11 can cut that notification source entirely.
Stop banners, sounds, and lock-screen previews
You don't have to choose between full silence and full noise. Windows gives you granular controls for banners, sounds, and lock-screen content independently, both at the system level and per app.
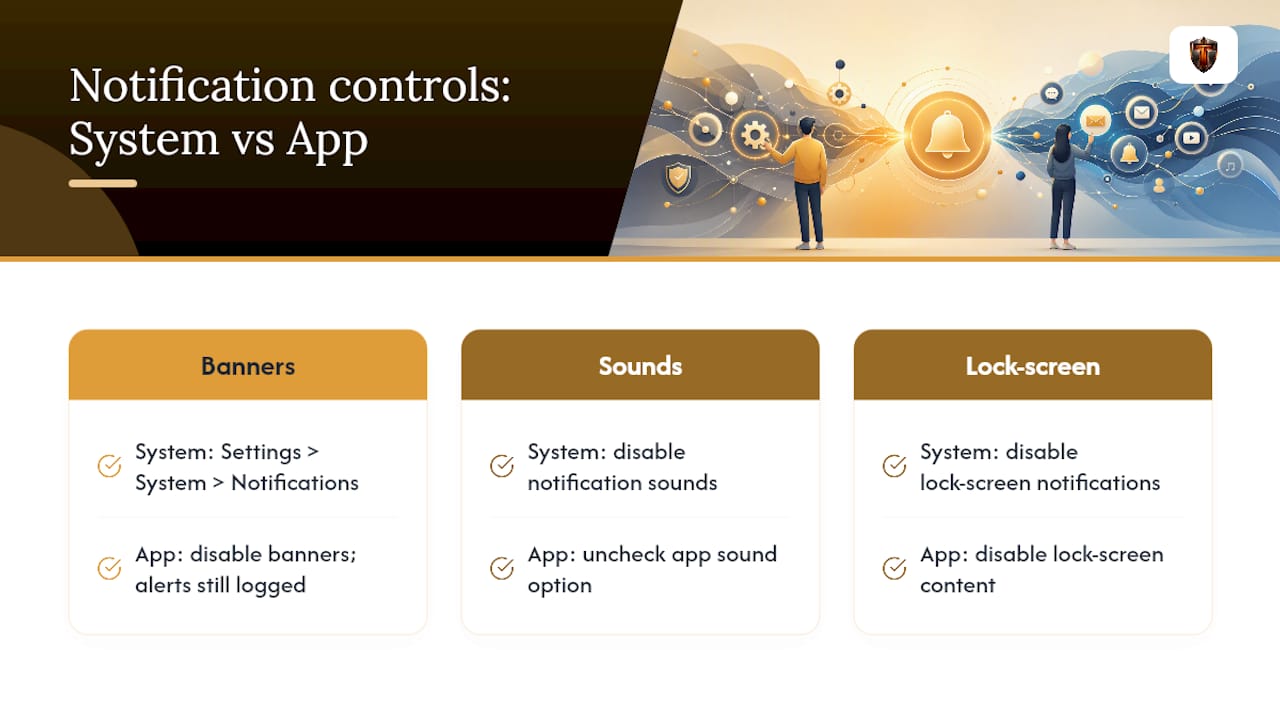
Banners only: Go to Settings > System > Notifications, click an app, and toggle off "Show notification banners." The app still logs alerts in the Notification Center. You get the information without the interruption.
Sounds: At the system level, open Settings > System > Notifications and look for "Allow notifications to play sounds." Toggle it off to silence every audio ping globally. Per app, open the app's detail page and uncheck the sound option there.
Lock-screen content: On a shared or public device, you probably don't want email previews visible when the screen is locked. Go to Settings > System > Notifications and toggle off "Show notifications on the lock screen," or per app, disable "Show content on the lock screen" on the app's detail page.
A common setup that works well for focused work: banners off, sounds off, Notification Center still enabled. You lose zero information. Alerts queue silently and you check them on your own schedule. For badge notifications on the Start menu or Windows Update, those live under Settings > Personalization and Windows Update advanced options respectively.

How to use Do Not Disturb and Focus to silence notifications on a schedule
Do Not Disturb is the most practical tool for everyday quiet. It doesn't delete notifications. It reroutes them to the Notification Center so you can review missed alerts later, which makes it far safer than a permanent disable.
Turn it on manually: Press Win+N to open the Notification Center, then click the moon icon at the top. Or go to Settings > System > Notifications > Do Not Disturb and toggle it on.
Schedule it automatically. Under Settings > System > Notifications > Do Not Disturb, you can set automatic triggers:
- A specific time block (e.g., 9:00 PM to 7:00 AM)
- When you're playing a game
- When you're duplicating your display (presentations)
- When an app is running full-screen
- For a period after a Windows update restart
Priority notifications let specific alerts break through even when Do Not Disturb is active. Under the Do Not Disturb settings, open "Priority notifications" and add the apps, contacts, or alert types (alarms, reminders, calls) that should always get through.
Focus sessions, available through the Clock app, layer on top of Do Not Disturb. They run a timer, suppress notifications, and optionally integrate with Spotify. For readers who want to pair this with broader productivity strategies for uninterrupted work, Focus sessions are a natural fit.
Pro Tip: Keep your priority list short: one messaging app, your calendar, and any security or alarm app. A long priority list defeats the purpose. If you're gaming, the automatic "while playing a game" trigger handles it without any manual steps. Check the gaming optimization guide for additional settings that reduce distractions during play.
Priority apps worth keeping active during Do Not Disturb:
- Calendar and alarm apps
- Your primary messaging app (Teams, Slack, or Messages)
- Security and antivirus alerts
- VPN or remote-access tools if you're working remotely
Manage notifications quickly from the Notification Center
The Notification Center (Win+N, or click the date and time in the taskbar) is your fastest triage tool. No Settings navigation required.
When you open it, you'll see queued alerts grouped by app. Each alert has a three-dot menu and an X to clear it. The three-dot menu gives you two options: turn off all notifications for that app immediately, or jump straight to that app's notification settings page. AddictiveTips confirms the Settings button in the banner itself does the same thing.
At the top of the Notification Center, the moon icon toggles Do Not Disturb on and off without leaving the panel. That's the fastest way to go quiet mid-task.
To clear everything at once, click "Clear all notifications" at the top right of the Notification Center. Individual app groups can be cleared with the X next to the group header.
Advanced options for admins: Group Policy, Registry, and PowerShell
For IT administrators managing multiple machines, per-device Settings changes don't scale. Windows offers three system-level methods.
Registry edit: The key HKEY_CURRENT_USER\Software\Microsoft\Windows\CurrentVersion\PushNotifications contains a DWORD value called ToastEnabled. Setting it to 0 disables toast notifications system-wide. Setting it back to 1 restores them. A restart is required for the change to take effect. This method works on a single machine and affects only the current user account.
Group Policy: In managed environments, Group Policy lets administrators push notification settings across all devices from a central console. This is the approach NinjaOne recommends for professional and education environments, where consistent behavior matters more than individual user preferences.
PowerShell: Scripts can automate Registry changes or Group Policy application across fleets of machines. Useful for large deployments, but requires testing before rollout.
Before editing the Registry: Always export a backup of the key first (File > Export in Registry Editor). Test on one machine before deploying broadly. A misconfigured Registry entry can cause unexpected behavior that requires a restart or a manual rollback. For most users, Settings is the safer and fully reversible path. If you're enforcing policies across a team, communicate the changes to end users beforehand so security alerts and critical reminders aren't silenced without warning.
Troubleshooting when notification settings won't cooperate
Sometimes the toggles are grayed out or an app keeps sending alerts despite being turned off. Here's how to work through it.
- Check your sign-in status. Some notification settings require you to be signed into a Microsoft account. If you're using a local account, certain options may be restricted.
- Look for MDM or Group Policy restrictions. If your device is managed by an employer or school, an administrator may have locked notification settings. Contact your IT department rather than trying to override the policy.
- Run Windows Update. Pending updates occasionally lock certain Settings panels until the update is applied. Install updates, restart, and check again.
- Check in-app settings. Apps like Chrome, Teams, and Slack have their own internal notification controls. Turning off Windows-level notifications for these apps may not stop alerts generated inside the app itself. Go into each app's settings and disable notifications there too.
- Disable notification suggestions. Windows sometimes shows promotional or "suggested" notifications. Go to Settings > System > Notifications and toggle off "Offer suggestions on how I can set up my device" and "Get tips and suggestions when I use Windows."
- Restart and check the Notification Center. After making changes, restart the machine and open Win+N to confirm the Notification Center is empty and no new banners appear. If alerts persist, the source is likely an in-app setting or a Group Policy override.
When toggles are grayed out, the cause is almost always MDM/Group Policy, account sign-in state, or a pending Windows update. The Verge's notification guide covers this diagnostic path in detail.
Why configuring Do Not Disturb beats turning everything off
Bluntly disabling all notifications feels satisfying for about ten minutes. Then you miss a calendar reminder, a security alert, or a message that actually mattered.
The smarter approach, backed by productivity guidance across the industry, is to configure Do Not Disturb with a short priority list rather than reaching for the master off switch. Digital Citizen's Windows 11 notification management guide makes this point directly: Do Not Disturb with priority apps preserves urgent alerts while blocking the noise that kills focus.
Focus sessions take this further. A timed session suppresses banners for a defined block, then releases automatically. You stay reachable for what matters and unreachable for everything else, without having to remember to turn notifications back on.
Pro Tip: Before changing any settings, open the Notification Center and scroll through the last day of alerts. Count how many came from each app. Silence those specifically and leave everything else alone.
A quick best-practice setup for common scenarios:
- Work focus: Do Not Disturb on a schedule (9 AM to 12 PM, 1 PM to 4 PM), priority list includes calendar and one messaging app
- Gaming: Automatic Do Not Disturb trigger for full-screen apps, all sounds off
- Presentation: Automatic trigger for duplicate display, lock-screen content hidden
Pairing these settings with productivity app recommendations can sharpen the effect further.
The case for tuning over nuking
Most people who want to disable notifications on Windows are reacting to a specific annoyance, not to all notifications equally. A browser that sends a dozen alerts an hour is the problem. Your calendar is not.
The instinct to flip the master switch is understandable, but it trades one problem for another. You stop the noise and start missing things. Do Not Disturb with a tight priority list is the configuration that actually holds up over time. Registry edits and Group Policy are powerful, but they're tools for admins managing fleets, not for someone who just wants fewer pop-ups during a meeting.
The practical approach: start with the three-dot menu on the worst offenders, set a Do Not Disturb schedule for your focus hours, and add two or three priority apps. Save the Registry for the rare case where you genuinely need a system-wide enforce on a managed device, and always keep the undo path documented.
Tempered helps reduce background interruptions, not just silence them
Many notifications are symptoms of apps running in the background when they don't need to be. Silencing the alert doesn't stop the process. Tempered takes a different angle: it scans your Windows 10 or 11 system, identifies which background processes are consuming resources unnecessarily, and proposes specific changes with plain-language explanations for each one.
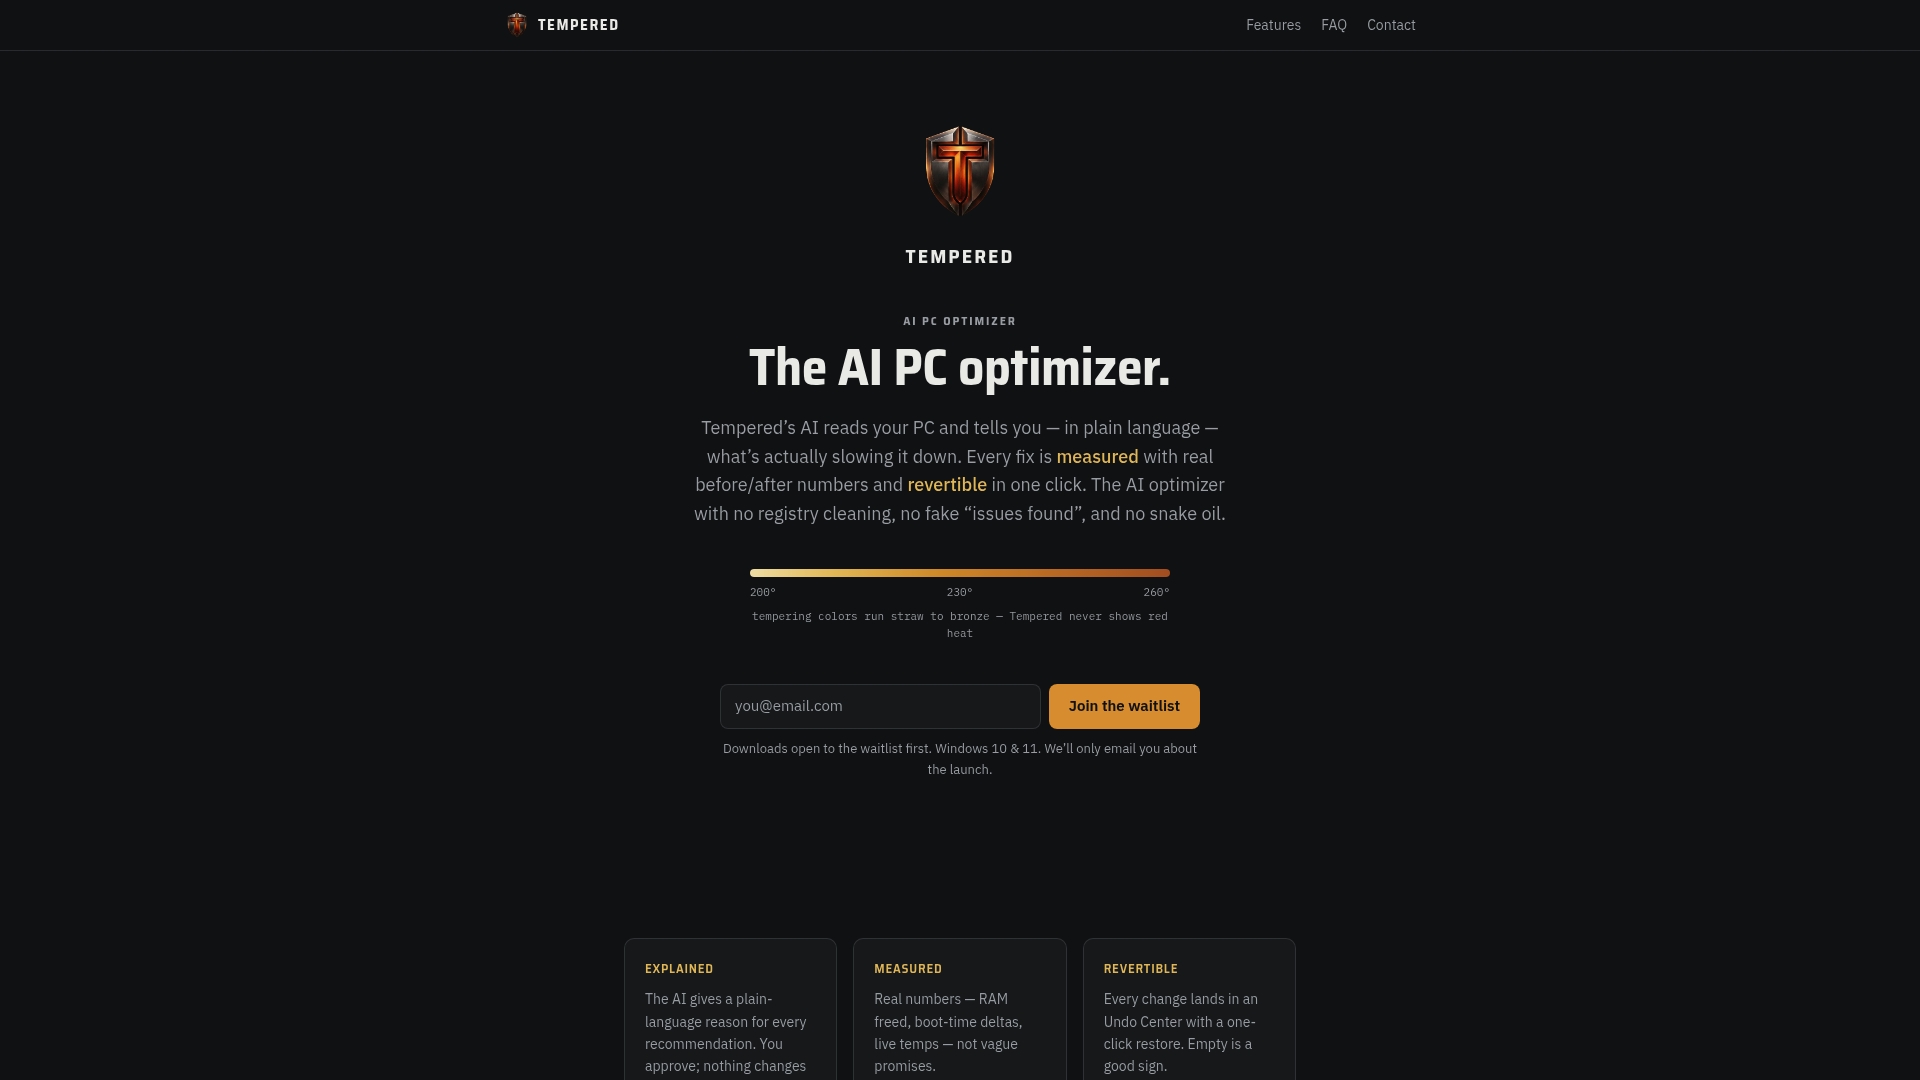
Every recommendation Tempered makes comes with an expected outcome and a one-click Undo, so nothing is permanent and nothing happens without your approval. If a background app is generating frequent notifications because it's constantly syncing or checking for updates, Tempered surfaces that and gives you a safe way to address it. You can also monitor system resources to identify which processes are the noisiest before making any changes. Start with a free scan at Tempered and see exactly what's running in the background.