
The fastest way to check SSD health on Windows is to download CrystalDiskInfo from crystalmark.info, run the portable version, and read the color-coded health status at the top of the screen. No installation required, no technical background needed, and the whole process takes under three minutes. Here are your main options at a glance:
-
CrystalDiskInfo (free, Windows): reads full SMART data including wear percentage, reallocated sectors, and total bytes written
-
Windows PowerShell: run
Get-PhysicalDiskfor a quick health summary without installing anything -
WMIC command prompt: run
wmic diskdrive get model,statusfor a pass/fail result in seconds -
Manufacturer software: Lexar SSD Management Software, Samsung Magician, Crucial Storage Executive, or SanDisk Dashboard for brand-specific diagnostics and firmware updates
-
smartmontools / smartctl: the go-to for Linux users and advanced Windows users who want raw attribute access
How to check SSD health using CrystalDiskInfo
CrystalDiskInfo is the standard free tool for Windows SSD health monitoring. It has been actively maintained since 2008, supports NVMe drives via the NVMe SMART command set, and reads all major SMART attributes without requiring a reboot.
- Go to crystalmark.info and download the portable version.
- Run the executable. No installation needed.
- The main window lists every drive in your system. Click the tab for your SSD.
- Read the Health Status field at the top left. Green means Good, yellow means Caution, red means Bad, and gray means Unknown (common with some USB enclosures).
- Check the Total Host Writes value. High power-on hours with low total writes usually means years of life remain.
- Scan the SMART attribute table for Reallocated Sectors Count and Uncorrectable Sector Count. Both should read 0. A non-zero value that stays static is less alarming than one that climbs between checks.
- Set a calendar reminder to re-check in 90 days.
CrystalDiskInfo uses color codes to make the status immediately readable: blue for Good, yellow for Caution, red for Bad, and gray for Unknown. The yellow Caution label typically fires when reallocated sectors appear or remaining life drops below a threshold. It does not mean failure is imminent, but it does mean you should back up your data today.
Pro Tip: Raw SMART values in CrystalDiskInfo default to hexadecimal. If a number looks unexpectedly large, go to Settings and switch the display to decimal. Misreading hex as decimal can make a healthy drive look catastrophically worn.
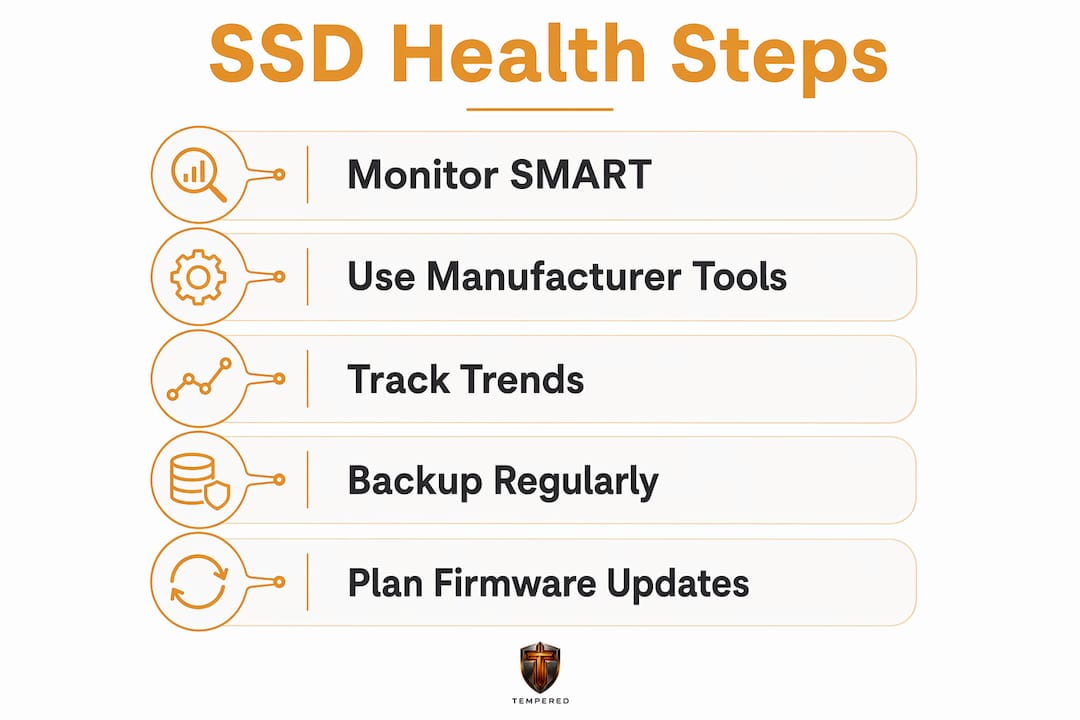
One snapshot is useful. A trend line is definitive. Note your Reallocated Sectors Count and Wear Leveling Count today, then compare them in three months. A sudden jump between checks signals something worth acting on.

Using Windows built-in tools to assess SSD health
You do not need third-party software for a quick sanity check. Windows 10 and 11 both include command-line utilities that pull SMART summaries directly from the drive firmware.
- Press Win + X and select Windows Terminal (Admin) or Command Prompt (Admin).
- Run:
wmic diskdrive get model,status - The output shows each drive's model name and a status of either OK or Pred Fail. "Pred Fail" means at least one SMART threshold has been crossed.
- For richer output, open PowerShell as administrator and run:
Get-PhysicalDisk | Select FriendlyName, HealthStatus, OperationalStatus - HealthStatus values are Healthy, Warning, or Unhealthy.
- For error detail, run the extended PowerShell command:
Get-PhysicalDisk | ForEach-Object { $_.FriendlyName; Get-StorageReliabilityCounter -PhysicalDisk $_ | Select Wear, Temperature, ReadErrorsTotal, WriteErrorsTotal; "" }
The limitation of built-in Windows tools is real:
Get-PhysicalDiskand WMIC report threshold summaries, not granular SMART attributes. PowerShell's Get-PhysicalDisk gives you a fast health check when CrystalDiskInfo is not installed, but it will not show you which specific attribute triggered a warning. Use it as a first pass, then follow up with CrystalDiskInfo if anything looks off.
Utilizing manufacturer-specific SSD diagnostic software
Every major SSD brand ships a free utility that goes deeper than generic SMART readers. These tools are calibrated to the specific firmware of their own drives, which means their health percentages and predictive alerts are more accurate for that hardware.
- Lexar SSD Management Software: health percentage, firmware update alerts, and drive info for Lexar drives
- Samsung Magician: performance benchmarks, over-provisioning controls, secure erase, and firmware updates for Samsung SSDs
- Crucial Storage Executive: drive health, firmware updates, and Momentum Cache for Crucial and Micron drives
- SanDisk Dashboard: covers SanDisk and Western Digital SSDs, includes short and extended SMART diagnostic tests
- ADATA SSD Toolbox: health monitoring and firmware management for ADATA drives
The main advantage over generic tools is firmware update delivery. Manufacturer software alerts you when a firmware update is available and walks you through applying it. Firmware updates can fix bugs that affect health reporting accuracy and write performance, though you should always back up your data before applying one and follow the manufacturer's instructions exactly. A failed firmware update is rare but recoverable only if you have a backup.
These tools also surface drive-specific features that CrystalDiskInfo does not expose, such as Game Mode on certain Samsung drives or cache acceleration settings on Crucial. If your SSD came from a major brand, installing its companion utility alongside CrystalDiskInfo gives you the most complete picture.

Recognizing signs of SSD failure and when to act
SMART data tells one part of the story. Performance degradation tells another. Slower file access and sluggish system responsiveness can signal underlying SSD issues just as clearly as a yellow Caution flag in CrystalDiskInfo.
Watch for these warning signs:
- Frequent freezes or hangs during normal use, especially during file operations
- Slow read and write speeds that were not present six months ago
- File corruption or files that suddenly become unreadable
- Boot failures or the system failing to detect the drive at startup
- CrystalDiskInfo showing Caution or Bad status, or any non-zero Uncorrectable Sector Count
A drive showing "Good" status can still be heading toward failure. Unsafe shutdown logs and media errors can indicate imminent problems even when the overall health percentage looks fine. Always check the detailed SMART attribute table, not just the summary banner.
The moment you see any of these signs, stop writing new data to the drive and back up immediately. SMART utilities detect wear but cannot reverse flash memory degradation. Software cannot fix a physically degrading SSD. The only correct response to a Bad status is replacement.
Best practices to maintain SSD health and extend lifespan
Keeping an SSD healthy long-term comes down to a few consistent habits, none of which require technical expertise.
- Keep storage usage below 85–90% capacity. SSDs need free space to perform wear leveling and garbage collection. A nearly full drive writes to the same cells repeatedly, accelerating wear.
- Run regular backups. Check your drive health every three to six months using CrystalDiskInfo or your manufacturer's tool, and treat each check as a backup reminder.
- Manage temperature. Consumer SSDs operate optimally between 0°C and 70°C. If your NVMe drive runs consistently above 70°C, add a heatsink or improve case airflow.
- Apply firmware updates carefully. Back up first, follow manufacturer instructions, and never interrupt the update process.
- Avoid unnecessary write cycles. Disable hibernation if you do not use it, and consider moving your browser cache to a secondary drive if you have one.
Pro Tip: Track SMART attribute trends over time rather than reacting to a single snapshot. Consistent monitoring of reallocated sectors and wear leveling counts gives a far clearer picture of drive health than any one-off check. A sudden increase between two readings is the real signal.
Pairing SSD monitoring with broader hardware awareness pays off. Keeping an eye on CPU temperature trends alongside disk health gives you a fuller picture of how your system is aging.
Advanced SSD health monitoring with smartctl and command-line tools
For users who want raw, unfiltered SMART data, smartmontools' smartctl is the industry standard on Linux and works on Windows too.
- On Linux, install with
sudo apt install smartmontools(Debian/Ubuntu) orsudo dnf install smartmontools(Fedora/RHEL). - For a SATA SSD:
sudo smartctl -a /dev/sda - For an NVMe drive:
sudo smartctl -a /dev/nvme0 - On Windows, download the smartmontools installer from smartmontools.org and run the same commands in an elevated command prompt.
Raw SMART values are in hexadecimal by default. Converting hex to decimal is critical before interpreting any raw value. Misreading the format can make a healthy drive look like it is failing.
Key attributes to read in smartctl output: Attribute 5 (Reallocated_Sector_Ct) should be 0; Attribute 177 (Wear_Leveling_Count) represents remaining life on Samsung drives; Attribute 194 (Temperature_Celsius) should stay below 70°C on consumer TLC drives; Attribute 231 (SSD_Life_Left) is used on Intel and some Micron drives as a direct endurance indicator.
For automated monitoring, configure the smartd daemon in /etc/smartd.conf. It runs periodic tests in the background and emails you when a threshold is crossed. This is the most practical setup for any Linux user who wants proactive drive monitoring without manual checks. For additional tech guidance on emergency procedures when health warnings appear, having a plan ready before the warning fires is always better than scrambling after.
How to build a backup strategy around SSD health status
Your backup frequency should scale with your drive's health reading. A drive at 95% health with zero reallocated sectors warrants a standard monthly backup. A drive at 70% or showing any Caution flag warrants weekly backups at minimum.
When CrystalDiskInfo shows Caution, treat it as a 30-day countdown. Copy your most critical files to an external drive or cloud storage immediately, then clone the entire drive using a tool like Macrium Reflect Free or Clonezilla before the status worsens. A full clone takes longer than a file backup but gives you a bootable copy of your entire system.
SSDs often enter a read-only state after exceeding their rated write endurance. You can still read data off the drive, but you cannot write anything new. That window is your last chance to migrate. Do not wait for a Bad status to start copying files.
For drives approaching end of life, the 3-2-1 rule applies: three copies of your data, on two different media types, with one copy stored off-site or in cloud storage. Google Drive, Backblaze Personal Backup, and OneDrive all work for the off-site copy.
Understanding TBW and DWPD: the real SSD lifespan metrics
Every SSD ships with a rated TBW (Terabytes Written) figure, which is the total amount of data the manufacturer guarantees the drive can write before the NAND cells wear out. A Samsung 870 EVO 2TB is rated at 600 TB TBW; a Crucial MX500 1TB is rated at 360 TB TBW. You can find your drive's TBW in the spec sheet or by searching the model number.
DWPD (Drive Writes Per Day) converts TBW into a daily workload figure over the warranty period. A drive rated for 1 DWPD on a 500 GB SSD with a five-year warranty can sustain 500 GB of writes every single day for five years. Consumer SSDs typically land between 0.1 and 0.3 DWPD. Enterprise SSDs start at 1 DWPD and go much higher.
Most consumer SSDs keep working without issues up to 80% of their rated TBW. Beyond that point, you should start planning a replacement and back up your data. Many drives do not fail immediately after exceeding their TBW rating, but they often enter read-only mode, meaning you can read existing data but cannot write anything new.
To find where your drive stands, check the Total Bytes Written value in CrystalDiskInfo, then compare it against the rated TBW in your drive's spec sheet. If you are past 80% of that figure, start shopping for a replacement now rather than waiting for a failure.
Key Takeaways
Checking SSD health regularly with CrystalDiskInfo, Windows PowerShell, and manufacturer tools gives you enough lead time to back up data and replace a failing drive before it causes data loss.
| Point | Details |
|---|---|
| CrystalDiskInfo is the primary tool | Download the portable version from crystalmark.info; it reads full SMART data in under three minutes. |
| SMART status alone is not enough | A drive can show full health while collecting error logs; always check the detailed attribute table. |
| Most consumer SSDs work reliably up to a large portion of their rated TBW; beyond that, back up and plan to replace. | |
| Backup frequency scales with health | A Caution status means weekly backups at minimum and a full drive clone within 30 days. |
| Track trends, not snapshots | A sudden rise in reallocated sectors between two checks matters more than any single reading. |
Take the guesswork out of PC health monitoring

Monitoring your SSD is one piece of the puzzle. Tempered gives you the full picture: real-time AI diagnostics across your CPU, RAM, GPU, and disk in plain language, with one-click fixes and a built-in Undo Center so nothing is permanent. No technical knowledge required. Try Tempered free and see exactly what your PC is telling you.